Vue port
I have spent the past few days porting my website into Vue. I've done this to try and understand a modern web development framework instead of some system I've duct-taped and zip-tied together in Python.
I write this blog simply to document my learning process. There may be some errors, things may be outdated, etc, so keep that in mind going forward.
At the moment, the site doesn't differ much from the default scaffold that vue provides. This is because I'm not a designer, and don't pretend to be. However, I do think some things can be done to shape this site to more closely match the style I had previously.
Porting three.js
My old website had a Mandelbrot zoom shader running in the background. I put some effort into making sure that this shader doesn't use too much GPU, but since it runs without any sort of routing framework, every page navigation resets this animation.
With Vue, I want to make use of the router to prevent this from happening while navigating the site. Once this is implemented, I can potentially integrate the shader bindings into the page and have better animation capabilities.
To get started, I simply imported animation.js and copied over the shaders. I initially put these into the assets/directory. I didn't realize that this directory is only used for Webpack purposes and isn't exposed on the network. I learned that these sorts of assets should be in the public directory instead.
The next step was to provide the animConatiner div that this script uses as a render target into the dom. To do this, I just added this div to the App.vue Component, and manually edited the CSS to have it placed as a background.
App.vue:
<script setup>
// Other component imports here...
import * as anim from './assets/animations.js'
</script>

<template>
    <!-- Blah blah blah-->
    <!-- While we are here, let's setup the router-view -->
    <main>
       <router-view></router-view>
    </main>
    <!-- My animation script needs this element in the dom to work -->
    <div id = "animContainer"></div>
</template>
assets/base.css
canvas {
    width: 100%;
    height: 100%;
    display: block;
    position: fixed;
    top: 0;
    left: 0;
    z-index: -9999;
    opacity: 0.3;
}
While editing this, I also setup the router-view ahead of time. More on that below.
Manually porting over pages
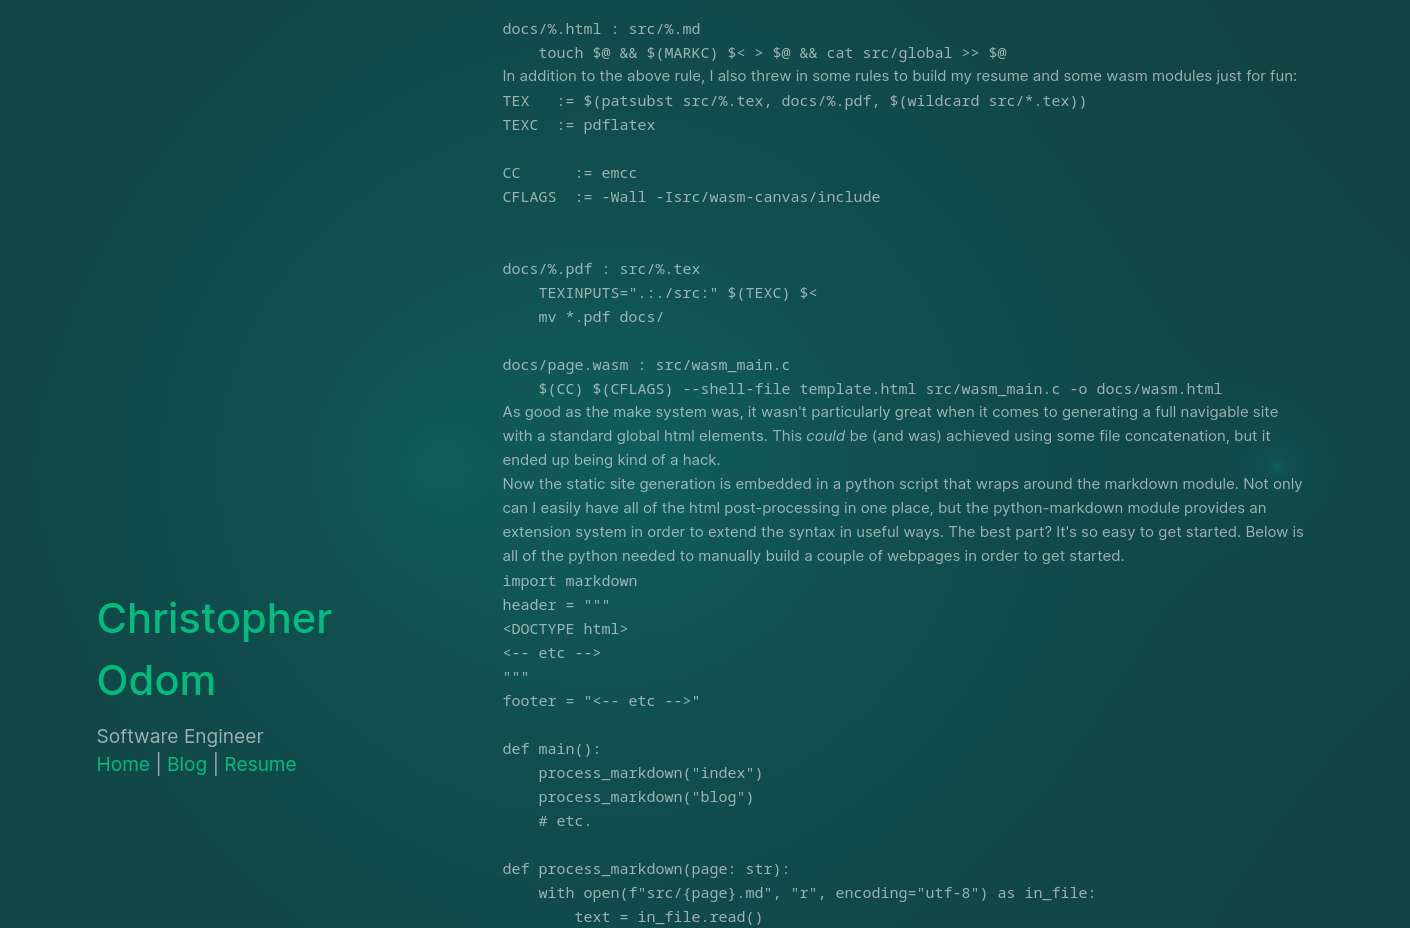
If you're unfamiliar with my old website, I had these pages generated from markdown files based on a Python script that manually styles the pages.
I will eventually port this system over, however, to turn this default scaffold project into something I can call my own, I want to iterate off of some manually imported pages first. To do this, I started copying over the generated HTML pages as vue components wrapped in <template> tags.
Setting up the router
When initializing the project, I didn't setup the Router. This was somewhat intentional since I'm largely unfamiliar with modern web frameworks and want to learn rather than scaffold. To set up this router, I had to install the router package using npm and configure it using some javascript.
router.js
import { createRouter, createWebHistory } from 'vue-router';
import About from './components/TheWelcome.vue';
/* import blah blah blah ... */

const routes = [
    {
        path: '/',
        component: About,
    },
    /* ... */
]

const router = createRouter({
    history: createWebHistory(),
    routes,
});

export default router;
I find this routing system pretty easy to use, however whenever I need to add in pages I have to start editing the router. Also, since I'm still a bit new to modern systems like this, I encountered an issue. I'd like to organize the blog into a separate web directory, such as /blog/static_website_blog. Unfortunately, this system breaks the mendelbrot zoom, since this changes the pathing for the fetch functions that get them. I think there's an easy enough fix, but I decided to just have blogs be on the website root since there are not enough of them to cause namespace issues.
Some issues
For larger blog pages, the wide page view doesn't have the title follow the screen as it scrolls. This isn't great since longer blogs will. Additionally, the styling of code segments that come from the generated html isn't styled in a way that looks nice. And finally, the text isn't always super readable.
The first thing I tackled was the code blocks. Using CSS, I simply added a subtle white background with a low opacity.
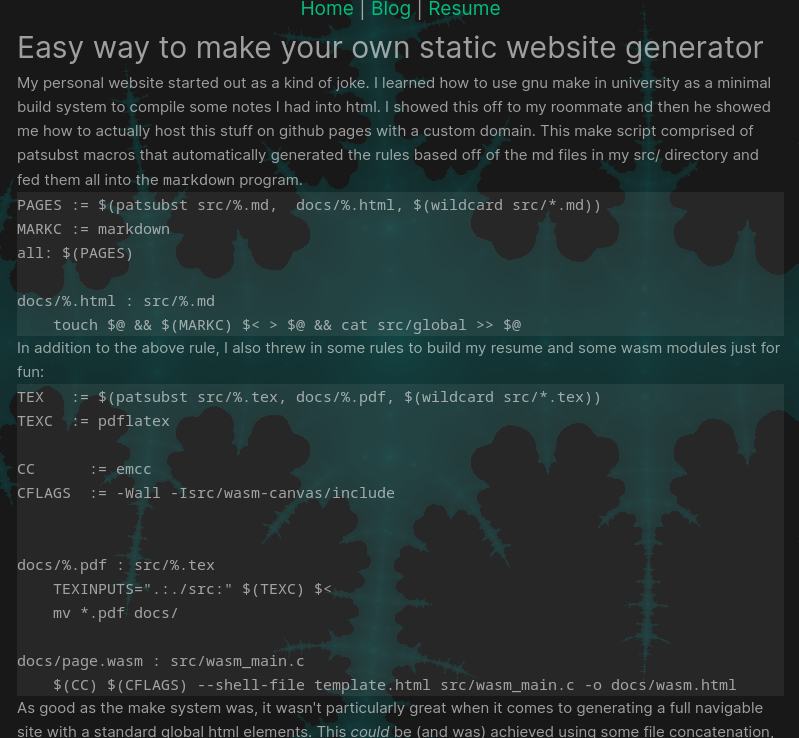
Next, to center the header div, I just added the following CSS to the component:
 .greetings {
    position: fixed;
    top: 50%;
    transform: translate(0, -50%);
  }
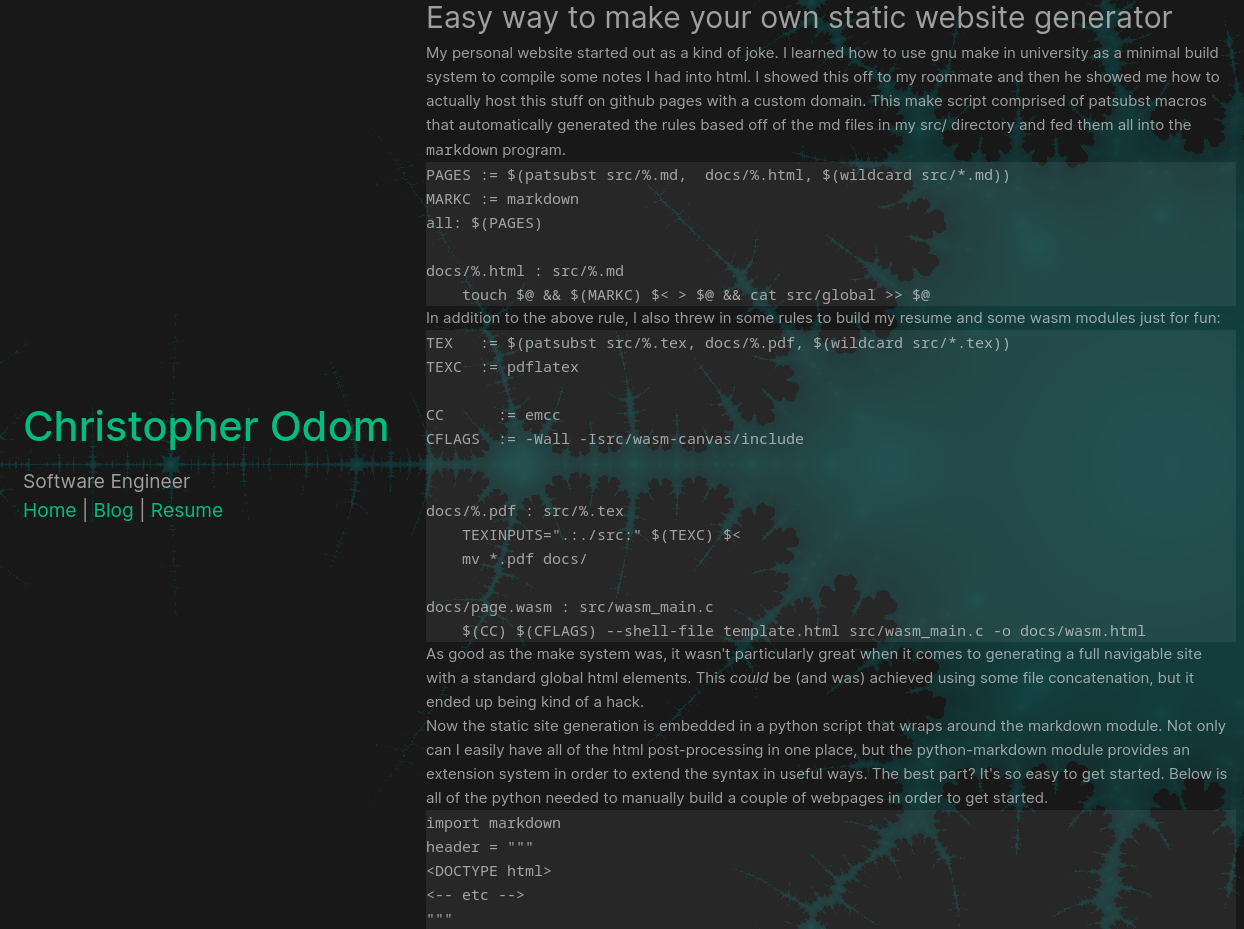
And then finally, making the text more readable just requires the Mandelbrot effect to have a lower opacity. The net result is the following:
Integrating the old website build
So far, I like how this site looks. While there's still some work to do on the style, I want to now try to port my old website's blog generator into the system. There are a few things that I need to figure out to effectively do this:
- Generate blog pages and place them into the project
- Automatically hook detected blogs into the router
- Place all images that might be linked into the public directory
- Integrate this into npm for better builds
Generate blog pages
To start, let's look at what I had for the build script:
import markdown
import subprocess
import os

def main():
    process_markdown("blog")
    process_markdown("static_website")

def process_markdown(page: str):
    with open(f"src/{page}.md", "r", encoding="utf-8") as in_file:
        text = in_file.read()

    html = "".join([
        markdown.markdown(text, extensions=['markdown.extensions.fenced_code'])
    ])

    print(f"outputting to docs/{page}.html")
    with open(f"docs/{page}.html", "w", encoding="utf-8") as out_file:
        out_file.write(html)
With the markdown Python package, we can do much deeper component integration than this by overriding the parsing tree emitter, however, for an MVP I think this will do.
The routing strategy I use requires these HTML pages to be accessible from the public directory, so I will place them there.
out_page = f"public/{page[:-3]}.html" # Get rid of .md and replace with .html
print(f"outputting to {out_page}")
with open(out_page, "w", encoding="utf-8") as out_file:
    out_file.write(html)
With this, I now have the blogs where I want them to be.
Integrating with the router
While I do have these blog pages being generated, I need to figure out how to route them. There are two approaches to this. I can either autogenerate a bunch of index files from Python, or I can use Dynamic Route Matching to display these within the website. I decided to use the latter since it allows Vite to do more work for me.
First, let's define the dynamic route:
import BlogViewer from './blog/BlogViewer.vue'
/* ... */
const routes = [
    /* ... */
    {
        path: '/blog/:id',
        component: BlogViewer,
    },
]
With this in place, and with a new BlogViewer component, we can make use of the this.$route.params.id to retrieve the actual blog html. The BlogViewer itself is adapted from the simple post example on vue's website:
<template>
    <div class="post">
        <div v-if="loading" class="loading">Loading...</div>
        <div v-if="error" class="error">{{ error }}</div>

        <div v-if="post" class="content">
            <div v-html="post" class="content"></div>
        </div>
    </div>
</template>
The key difference here is the v-html div. Since my blogs are rendered out to html, I need to have this html be inserted into the DOM. The v-html div allows me to do that with the following snippet:
<script>
export default {
    data() {
        return {
            loading: false,
            post: null,
            error: null,
        }
    },    // watch the params of the route to fetch the data again
    created() {
        this.$watch(
          () => this.$route.params,
          () => {
            this.fetchData()
          },
          // fetch the data when the view is created and the data is
          // already being observed
          { immediate: true }
        )
    },
    methods: {
        fetchData() {
          this.error = this.post = null
          this.loading = true
          const data_uri = this.$route.params.id + '.html'
          fetch(data_uri).then(async (response) => {
            this.loading = false
            if (!response.ok) {
              this.error = await response.error()
            } else {
              const html_text = await response.text()
              this.post = html_text
            }
          })
        },
    },
}
</script>
If you're familiar with the example, this doesn't stray too far from it. ALl we do is use a created() hook to fetch the data from the server. Once retrieved, we fire an async function that renders this data onto the page depending on if it failed or not.
Images
Images are simple, they go in public. I may want to integrate this all with vite's asset manager, however, I think that for this update I want to just have these images available and move on.
if os.path.isfile(file) and file[-4:] == ".png":
    subprocess.run(["mv", file, "./public/" ])
Integrating with npm
For this, we simply install the build.py as a pre-script for both dev and build.
  "scripts": {
    "predev":   "./build.py",
    "dev":      "vite",
    "prebuild": "./build.py",
    "build":    "vite build",
    "preview":  "vite preview"
  },
However, this approach does have a drawback; blog page generation is no longer interactive. For now, this will work since markdown files can be interactively written using modern text editors, but it is something I'd like to have in the future.
Deploying
This whole project was developed in a brand-new repository. To deploy the site, I need to configure a github action to build the project and host it on github pages. This action can be viewed on the repo. The gist of it is as follows:
- Setup node.js
- Setup Python
- This required a
requirements.txtfor pip - Install vue, vite, etc.
- Install latex for the resume builder
- Build
- Upload to Github Pages
And in a separate deploy task we then run deploy-pages. Once I validated this worked, I then had to change the name from new_codom.github.io to codom.github.io since pages would deploy the previous name to a non-root directory.
And that's pretty much it! In a few days, I completely revamped my website. This isn't everything that I have planned, but I thought I should write this blog to document my learning process. I had no real experience with Vue and SPA frameworks generally, and this is likely only scratching the surface. However, this project taught me a lot about how the modern web functions, and I feel as if this knowledge will prove useful in the future.